SCAIL2_Motion_Control
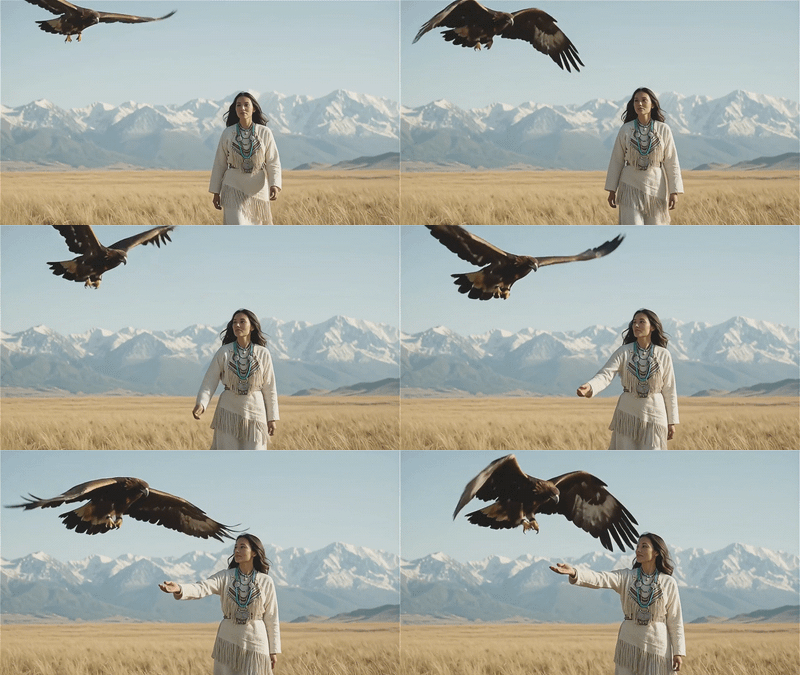
SCAIL2を使用したモーションコントロール用のワークフローです。動画をモーション元としてアップロードし、入れ替えたい人物画像をアップロードすることで、動画内の動きをキャラクターへ転送できます。緑色のノードだけ設定すればすぐ使えます。 This is an Image-to-Video motion control workflow using SCAIL2.
Motion Control
SCAIL2
Video
5.8k
_1783028563354.gif)
Nodes & Models
LoadImage
KSamplerSelect
CLIPLoader
umt5_xxl_fp8_e4m3fn_scaled.safetensors
SamplerCustom
ImageConcatMulti
CheckpointLoaderSimple
sam3.1_multiplex_fp16.safetensors
PrimitiveInt
MarkdownNote
CLIPTextEncode
CLIPVisionLoader
clip_vision_h.safetensors
VAEDecode
PrimitiveBoolean
VAELoader
wan_2.1_vae.safetensors
GetImageRangeFromBatch
easy forLoopEnd
ImageResizeKJv2
UNETLoader
wan2.1_14B_SCAIL_2_fp16.safetensors
WanSCAILToVideo
easy batchAnything
SAM3_VideoTrack
easy imageRemBg
BasicScheduler
LoraLoaderModelOnly
lightx2v_I2V_14B_480p_cfg_step_distill_rank128_bf16.safetensors
easy forLoopStart
CLIPVisionEncode
SCAIL2ColoredMask
ModelSamplingSD3
ImpactConditionalBranch
PreviewImage
MathExpression|pysssss
MathExpression|pysssss
VHS_VideoInfoLoaded
VHS_LoadVideo
VHS_VideoCombine
1. Overview|概要
このワークフローは、SCAIL2を使用したモーションコントロール用の動画生成ワークフローです。
This workflow is a video generation workflow for motion control using SCAIL2.
動画の動きをキャラクター画像へ転送し、同じ動きをする動画を生成できます。
It transfers motion from a video to a character image, generating a video where the character performs the same movement.
ダンス、演技、全身の動き、ポージング動画などを元にキャラクターを動かせます。
You can animate a character using dance clips, acting takes, full-body movement, or posing videos.
従来のようなスケルトンリグ、ポーズ抽出、手動キーフレームを使わず、動画から直接動きを読み取ります。
It reads motion directly from video without skeleton rigs, pose extraction, or manual keyframing.
LightX2V LoRAも導入しており、生成速度を高める構成になっています。
A LightX2V LoRA is also included to speed up generation.
ただし重めのワークフローのため、生成には時間がかかる場合があります。
However, this is a heavy workflow, so generation may take longer.
キャラクター動画、AI美女動画、ダンス動画、演技動画、SNS向けショート動画制作に活用できます。
It can be used for character videos, AI beauty videos, dance videos, acting videos, and short-form social media content.
2. How It Works|使い方
このワークフローは、緑色のノードのみ設定すれば使えます。
You can use this workflow by setting only the green nodes.
Load Videoには、動きの元になる動画をアップロードしてください。
Upload the driving video to Load Video.
Load Video下部の choose video to upload を選択して、任意の動画をアップロードしてください。
Select choose video to upload under Load Video and upload any video you want to use.
正常にアップロードできていても、アップロードした動画が表示されないことがあります。
Even if the upload is successful, the uploaded video may not appear in the preview.
Load Imageには、入れ替えたい人物やキャラクターの画像をアップロードしてください。
Upload the person or character image you want to animate to Load Image.
WidthとHeightには、出力したい動画サイズを入力してください。
Enter the output video size in Width and Height.
初期値は576x864で、2:3の縦長サイズです。
The default size is 576x864, which is a vertical 2:3 format.
動画と画像をアップロードしたら、必要に応じて短いプロンプトでシーンを指定してください。
After uploading the video and image, describe the scene with a short prompt if needed.
最後に生成ボタンを押すと、動画の動きをもとにキャラクター動画が生成されます。
Finally, press the Generate button to create a character video based on the motion from the video.
初めて使う場合は、基本設定を変更せず、そのまま実行するのがおすすめです。
For first-time use, it is recommended to leave the default settings unchanged and run the workflow.
3. Prompt Control|プロンプトによる調整
プロンプトには、キャラクターをどんなシーンで動かしたいかを短く書いてください。
In the prompt, briefly describe the scene where you want the character to move.
動き自体はアップロードした動画から取得されるため、プロンプトでは主にシーンや見た目を指定します。
Since the motion is taken from the uploaded video, the prompt mainly controls the scene and visual style.
4. Settings|設定
基本設定では、緑色のノードだけ設定すればすぐに使えます。
With the basic settings, you can use it immediately by setting only the green nodes.
Load Videoには、動きの元になる動画をアップロードしてください。
Upload the motion source video to Load Video.
Load Imageには、動かしたい人物やキャラクター画像をアップロードしてください。
Upload the person or character image you want to animate to Load Image.
Widthには、出力したい動画の横幅を入力してください。
Enter the output video width in Width.
Heightには、出力したい動画の高さを入力してください。
Enter the output video height in Height.
初期値はWidth 576、Height 864です。
The default values are Width 576 and Height 864.
初期値は2:3の縦長動画に向いた設定です。
The default setting is suitable for vertical 2:3 videos.
SNS向けの縦動画を作る場合は、まず初期値のまま試すのがおすすめです。
For vertical social media videos, it is recommended to start with the default values.
生成が重いワークフローのため、高解像度にしすぎると生成時間が長くなる場合があります。
Because this is a heavy workflow, using too high a resolution may increase generation time.
初めて使う場合は、その他の設定は変更せず、デフォルトのまま実行してください。
For first-time use, leave all other settings unchanged and run with the default setup.
動きが崩れる場合は、元動画の動きが明確で、人物が見切れていない動画を使ってください。
If the motion breaks, use a source video with clear movement and a fully visible subject.
キャラクターが崩れる場合は、顔や全身がはっきり写った画像をLoad Imageに入れてください。
If the character becomes unstable, use a clear image where the face or full body is visible in Load Image.
Read more
0
Reply
1
Reply
1
Reply