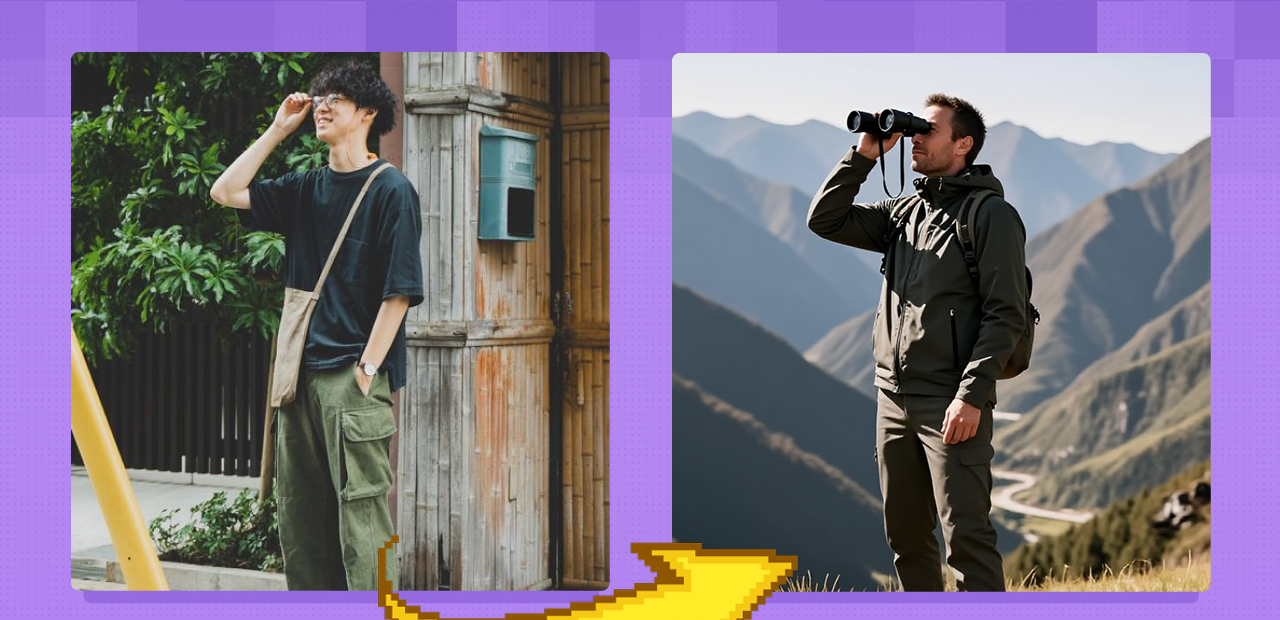
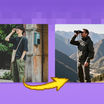
Z-Image Turbo: ControlNet Image to Image
Image to Image
Controlnet
Depth
Image2Image
Photography
Portrait
Pose Control
Z-Image-Turbo
13
5.9k

Nodes & Models
LoadImage
CLIPLoader
qwen_3_4b.safetensors
UNETLoader
z_image_turbo_bf16.safetensors
VAELoader
ae.safetensors
Note
ModelPatchLoader
Z-Image-Turbo-Fun-Controlnet-Union-2.1.safetensors
SaveImage
EmptySD3LatentImage
CLIPTextEncode
ConditioningZeroOut
VAEDecode
KSampler
ModelSamplingAuraFlow
PreviewImage
QwenImageDiffsynthControlnet
ImageScaleToMaxDimension
GetImageSize
AIO_Preprocessor
HOW IT WORKS
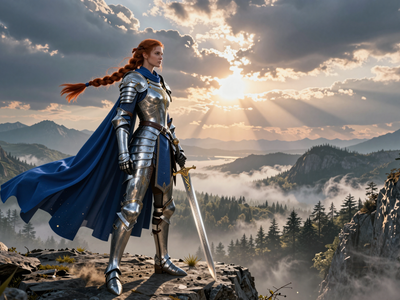
Step 1. Upload a reference image The image whose structure you want to keep, like a posed figure, a sketch, a clear layout, or a scene with strong depth. Works great with: posed figures · sketches · clear compositions · architectural shots
Step 2. Pick a control type Match the preprocessor to what you want to hold: Pose for body position, Canny for hard edges, HED for soft outlines, Depth for 3D layout, MLSD for straight-line geometry. The default is Pose.
Step 3. Write your prompt Describe the new content and style. The structure stays put, and the prompt decides what fills it, like "realistic photo, cyberpunk character, neon city."
Step 4. Hit run and download Z-Image Turbo generates a new image that follows the reference's structure while the prompt sets the look. Ready for: Photoshop · Figma · Canva · any editor
First time? Leave every setting as-is. The defaults (Pose control · strength 1 · 9 steps · 1024px) are the right starting point for almost everyone.
RECOMMENDED SETTINGS
Quick-start guide. Find the goal that matches yours and copy the settings.
Standard run (most people) Start here — Pose control · strength 1 · 9 steps · 1024px. The right starting point for almost everyone.
Keep a person's pose — Use the Pose preprocessor. It reads the skeleton from your reference, and the new character matches that body position.
Keep edges or an outline — Switch to Canny for hard edges or HED for softer ones. Good for turning sketches and line art into finished images.
Keep the 3D layout — Use Depth. It holds the foreground and background relationship while you change the look.
Keep architecture or straight lines — Use MLSD. It locks straight-line geometry like buildings and rooms.
Control feels too strong or too weak — Lower the ControlNet strength to 0.7 to 0.8 for simple poses, and keep it near 1 for complex ones.
Reproduce a result you liked — Lock the seed to the number that produced it.
Prompt: Describe the new subject, setting, and style, not the pose or layout. The reference handles composition, so a prompt like "cyberpunk character, neon city, realistic photo" lets the control map do the placing while the model paints the look.
USE CASES
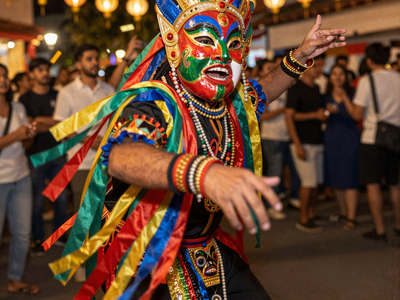
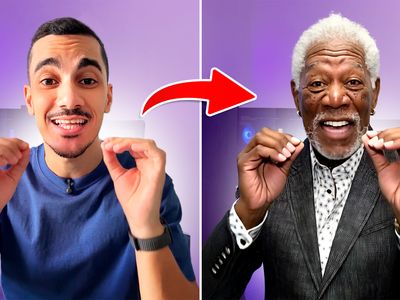
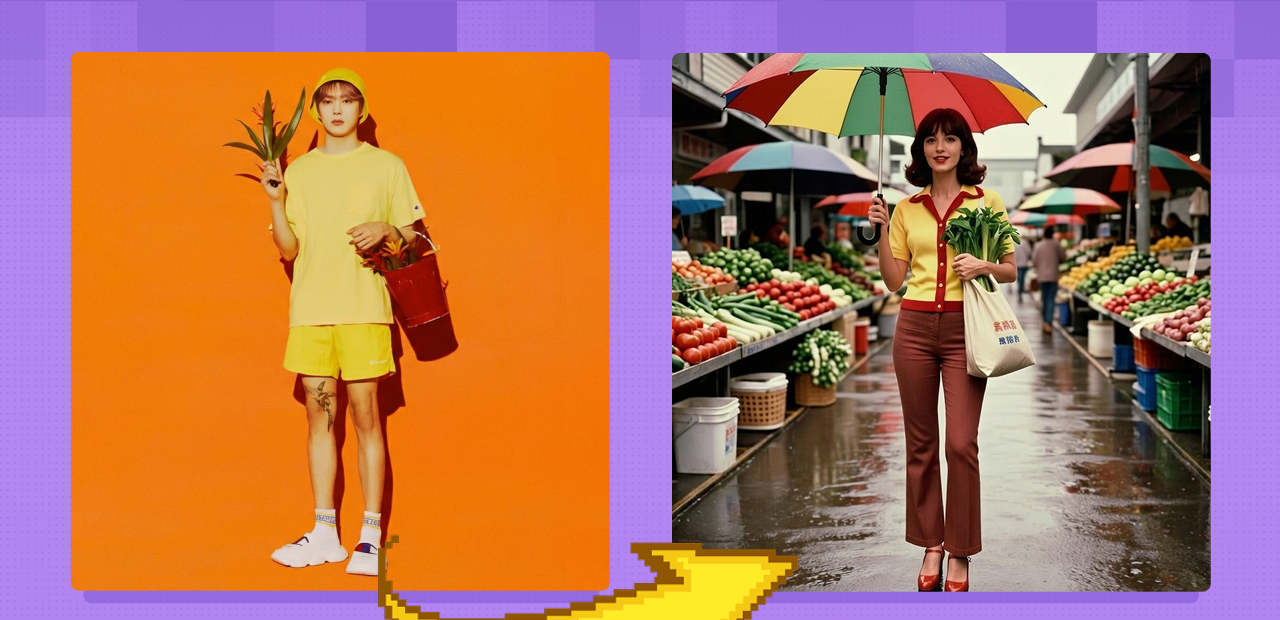
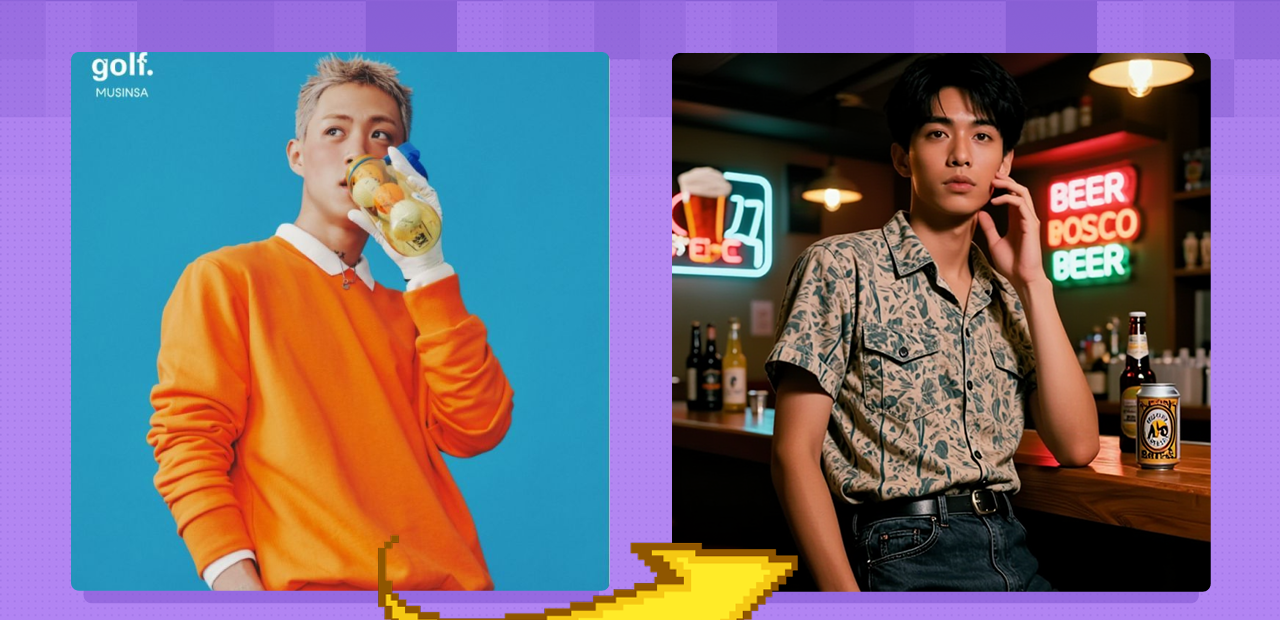
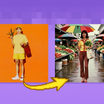
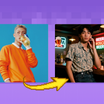
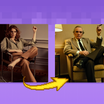
🎭 Pose & Character Put a new character into a reference pose, or keep one pose consistent across a set of variations.
✏️ Sketch to Render Turn a line drawing or a rough sketch into a finished image while keeping the composition you laid out.
🏙️ Layout & Architecture Hold a building's geometry or a scene's layout while you restyle the materials, lighting, and mood.
🎨 Style Swaps Keep a composition and change the style, like photo to cyberpunk or day to night, without redrawing it.
WHAT WORKS BEST / WHAT TO AVOID
✅ Works great
A clear reference with strong structure
The control type matched to your goal
A prompt focused on content and style
Simple to moderate poses and layouts
⚠️ May produce softer results
A messy or low-contrast reference
The wrong control type for the source
Over-describing the pose in the prompt
Control strength pushed too high on simple poses
NEW TO COMFYUI?
Start with the free ComfyUI for Beginners Course on Floyo. Sixteen short videos take you from zero to running your own AI workflows. No setup headaches, no jargon, clear hands-on lessons. Watch the course, then run any workflow here in your browser.
👉 Watch the free ComfyUI for Beginners Course →
FAQ
What is ControlNet, and what does this workflow do? ControlNet steers an image model with structural hints from a reference image, like edges, depth, or a human pose, while the model paints in its own style from your prompt. This workflow pairs Z-Image Turbo with the ControlNet Union 2.1 model, so you upload a reference, keep its structure, and change the subject and style through text.
What control types does the Union 2.1 ControlNet support? It is a Union model, meaning one ControlNet handles several control conditions: Pose, Canny, HED, Depth, and MLSD, plus an inpaint mode. Each pulls a different map from your reference, Pose reads a body skeleton, Canny and HED read edges, Depth reads 3D layout, and MLSD reads straight lines. You pick the preprocessor that matches what you want to hold.
How is this different from plain Z-Image Turbo text-to-image? Plain text-to-image invents the whole composition from your prompt. This workflow anchors the composition to a reference image, so the pose, edges, or depth carry over and only the content and style change. It is the tool for when you already have a structure you want to keep.
Why do I need a special ControlNet for Z-Image? Z-Image uses a different architecture from older models, so ControlNets built for SD 1.5 or SDXL do not work with it. Alibaba PAI trained this Union ControlNet from scratch on Z-Image Turbo, so the control feels native and follows your guidance instead of fighting the base model.
How do I keep a pose but change the character? Use Pose control. The preprocessor reads the body skeleton from your reference, and your prompt describes the new character. The result is a different subject in the same pose, which is useful for consistency across a set of images.
Can I use the results commercially? Yes. Z-Image Turbo is released under the Apache 2.0 license, and images you generate on Floyo carry full commercial rights. You are responsible for having the right to use the reference image you upload.
How to run Z-Image Turbo ControlNet online? You can run Z-Image Turbo with ControlNet online through Floyo. No installation, no setup, no GPU to rent. Open the workflow in your browser, upload a reference, pick a control type, write a prompt, and hit run. Free to try.
WHY FLOYO?
Floyo is the only platform with team collaboration for ComfyUI in the browser. You run workflows with no install. You share run history, assets, and models across your team. You pay only when you generate. Floyo supports open-source and closed-source models.
A designer runs a controlled generation and likes the result. A teammate opens that exact run from shared history and keeps going. No file handoffs. No version confusion.
For studios and enterprise teams, Floyo adds private workspaces, pooled resources, and a team usage dashboard. Other ComfyUI cloud tools run for one person at a time. Floyo runs for the whole team, with transparent per-generation costs.
Ready to try it? Upload a reference image and run it. Pick a control type and write a prompt to steer it.
Questions? Watch the free course or check the FAQ above.
Read more