Minimax H3 for Text to Image
Generate high-resolution images from text prompts using MiniMax H3-Image with a built-in prompt enhancer that rewrites your description into a detailed caption before generating. Type your prompt and hit run.
Image
Minimax H3
Text to Image
39


ABOUT THE WORKFLOW
Generate images from a text prompt
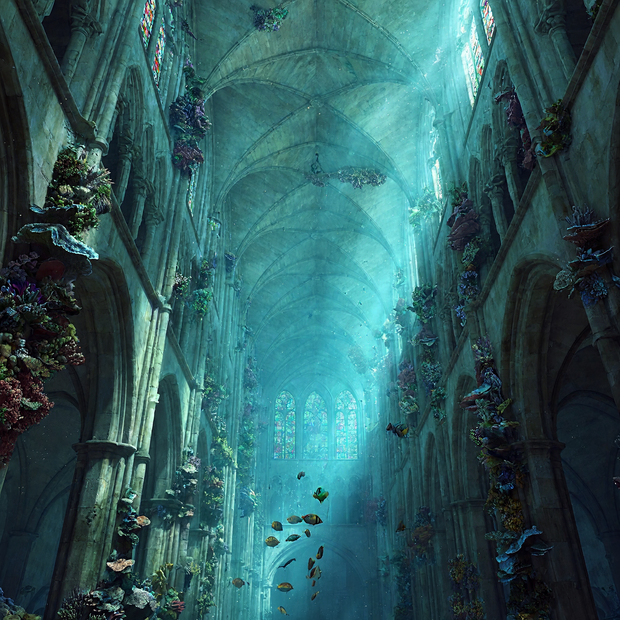
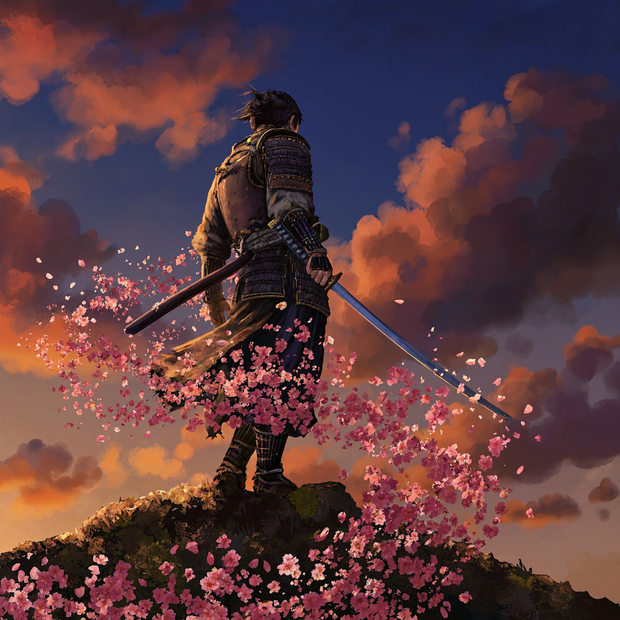
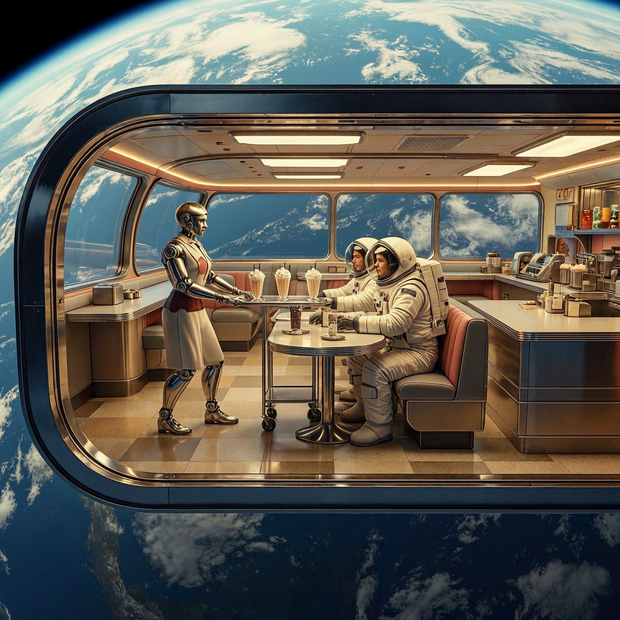
Type a description and the workflow produces an image. A built-in prompt enhancer rewrites your short input into a detailed caption and picks an aspect ratio automatically. The model then generates your image in 6 steps, outputting up to 4 megapixels by default.
Model
MiniMax H3-Image by MiniMax. An open-weight image generation model released in November 2026, built on the H3 omni-modal architecture. Generates high-resolution images with strong prompt adherence in just 6 sampling steps.
HOW IT WORKS
Step 1. Write your prompt
Type a description of the image you want in the green text box on the left. Can be short. The prompt enhancer expands it into a detailed description automatically.
Works great with: scene descriptions · product concepts · character designs
Step 2. Choose your aspect ratio (optional)
Pick an aspect ratio from the dropdown. The default is 1:1 (Square). When the prompt enhancer is on, it also suggests an aspect ratio based on your description.
Step 3. Toggle the prompt enhancer (optional)
The prompt enhancer is on by default. It rewrites your text into a detailed English caption and selects an appropriate aspect ratio. Turn off the red switch if you want to use your prompt exactly as written.
Step 4. Hit run
The model generates your image in 6 steps. Your finished image appears in the preview box on the right, saved to your outputs folder.
Ready for: Photoshop · Figma · Canva
First time? Leave every setting as-is. The defaults are the right starting point for almost everyone.
RECOMMENDED SETTINGS
User Prompt (Required)
Text field describing the image you want
Can be short — the prompt enhancer expands it automatically
Example: "A fox plush toy floating above a meadow, toy packaging poster style"
Prompt Enhancer
On by default (red switch to toggle off)
Uses Qwen 3.5 9B (qwen3.5_9b_w4a8_gptq.safetensors) via TextGenerateV2 node
Rewrites your prompt into a detailed description and picks an aspect ratio
Outputs a JSON with expanded_caption and aspect_ratio
When off, your prompt is used exactly as written via the user_prompt bypass switch
Enhancer settings: temperature 1, top_k 20, top_p 0.95, max_length 8192, thinking enabled
Aspect Ratio
Default: 1:1 (Square) via ResolutionSelector
When prompt enhancer is on, it auto-selects from: 1:1, 5:4, 4:3, 3:2, 16:9, 21:9, 4:5, 3:4, 2:3, 9:16
When prompt enhancer is off, the ResolutionSelector dropdown controls the ratio
Resolution (Megapixels)
Default: 4 MP via ResolutionSelector
Output: images up to 16 megapixels
Dimensions must be multiples of 32 — the ResolutionSelector handles this
Higher megapixel settings use more memory and take longer
KSampler Settings
Steps: 6 (designed for exactly 6 steps — more is not better)
CFG: 1 (effectively no classifier-free guidance)
Sampler: euler
Scheduler: simple
Denoise: 1
Seed: randomized by default — set a specific number to reproduce the same result
Models
Diffusion: minimax_h3_image_pruned_int8_convrot.safetensors (UNETLoader)
Text encoder for generation: qwen3vl_32b_minimax_h3_int8_convrot.safetensors (CLIPLoader)
Text encoder for prompt enhancer: qwen3.5_9b_w4a8_gptq.safetensors (CLIPLoader)
VAE: minimax_h3_image_vae_fp16.safetensors (VAELoader)
Output
One image saved to outputs folder
Format: PNG (via SaveImage node with prefix "minimax_h3_image_t2i")
Resolution matches the megapixel and aspect ratio settings
Common Error-Causing Mistakes to Avoid
Increasing steps beyond 6 — H3-Image is designed for exactly 6 steps, more is not better
Increasing CFG above 1 — the model uses no classifier-free guidance by design
Setting megapixels too high without enough VRAM — higher MP uses more memory and takes longer
Dimensions not multiples of 32 — use the ResolutionSelector to avoid this
Vague single-word prompts with enhancer off — without the enhancer, the model needs a detailed description
Expecting the enhancer to follow your exact wording — it rewrites extensively; turn it off if you need exact control
Prompt enhancer drifting from your intent on complex or specific requests — turn it off and write a detailed prompt yourself
Recommended Safe Defaults
Aspect ratio: 1:1 Square (or let the prompt enhancer pick)
Megapixels: 4 MP
Steps: 6
CFG: 1
Sampler: euler
Scheduler: simple
Seed: random
Prompt enhancer: on
Write a clear, specific prompt with concrete subjects
Leave all settings at defaults for a first run
LEARN
📹 Videos
ComfyUI 101 Free Course ft. Sebastian Kamph
Floyo 101 for Team Collaboration
✨ Quick links
USE CASES
🎨 Concept art and illustration
Describe a scene, character, or environment and get a high-resolution image you can use as a starting point for further refinement.
📦 Product mockups and packaging
Generate product visuals, packaging concepts, or marketing imagery from a text description without needing source photos.
📱 Social media content
Create original images for posts, stories, and ads. Pick the right aspect ratio for each platform from the dropdown.
🖼️ Posters and print design
Generate large, detailed images for posters, flyers, or wall art. The model outputs up to 4 megapixels by default with support for higher resolutions.
WHAT WORKS BEST / WHAT TO AVOID
✅ Works great
Specific, concrete prompts with named subjects, materials, and lighting
Short prompts when the enhancer is on (it fills in the detail)
Scenes with a clear primary subject and composition
Design artifacts like posters, cards, and infographics when described precisely
⚠️ May produce softer results
Vague or abstract prompts with no concrete subject (“something beautiful and inspiring”)
Precise multi-panel layouts or exact text placement (the enhancer may reinterpret)
Prompts in languages other than English (the enhancer and model work best in English)
Very small or intricate text within the image
FAQ
What is MiniMax H3-Image?
MiniMax H3-Image is an open-weight image generation model made by MiniMax, released in November 2026. It is built on the H3 omni-modal architecture and generates images up to 16 megapixels from text prompts. It also supports reference-based image editing with up to 16 input images, though this workflow uses text-to-image only.
How does the prompt enhancer work?
The prompt enhancer is a built-in language model (Qwen3.5 9B) that rewrites your short prompt into a detailed English caption and selects an aspect ratio. It runs before the image model, so the actual generation sees a richer description. You can turn it off to use your prompt exactly as written.
Why does this workflow only need 6 steps?
H3-Image was designed for 6 sampling steps with a CFG value of 1 (effectively no classifier-free guidance). More steps do not improve quality. This makes generation faster than models that need 20 or more steps.
Can I use MiniMax H3-Image for commercial projects?
The model weights are released under the MiniMax H3-Image Community License. Commercial use is permitted with restrictions, including a revenue cap and territorial limitations. Check the license terms for your specific situation before shipping commercial work.
What is the difference between MiniMax H3 and MiniMax H3-Image?
MiniMax H3 is the parent omni-modal model that generates video with native stereo audio. H3-Image is a separate image-only model built on the same architecture, optimized for generating and editing still images at high resolution.
Is MiniMax H3-Image good for 4K images?
Yes. The model can generate images up to approximately 16 megapixels natively, which covers 4K resolution. This workflow defaults to 4 megapixels for faster generation, but you can increase the megapixel setting in the resolution selector. Higher settings use more memory and take longer.
How to run MiniMax H3-Image online?
You can run MiniMax H3-Image online through Floyo. No installation, no setup, no API key to wire up. Open the workflow in your browser, upload your inputs, and hit run. Free to try.
WHY FLOYO?
Floyo is the only platform with team collaboration for ComfyUI in the browser. You run workflows with no install. You share run history, assets, and models across your team. You pay only when you generate. Floyo supports open-source and closed-source models.
A designer runs an edit and likes the result. A teammate opens that exact run from shared history and keeps going. No file handoffs. No version confusion.
For studios and enterprise teams, Floyo adds private workspaces, pooled resources, and a team usage dashboard. Other ComfyUI cloud tools run for one person at a time. Floyo runs for the whole team, with transparent per-generation costs.
Ready to try it?
Type a prompt and generate your first image with MiniMax H3-Image. No setup needed.
Questions? Watch the free course or check the FAQ above.
Read more