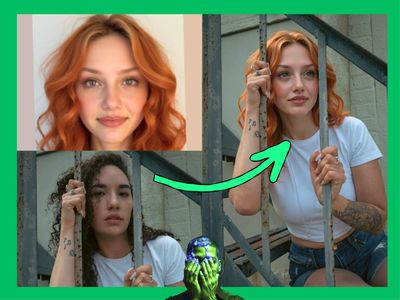
Minimax H3 with Audio Refiner for Text to Video
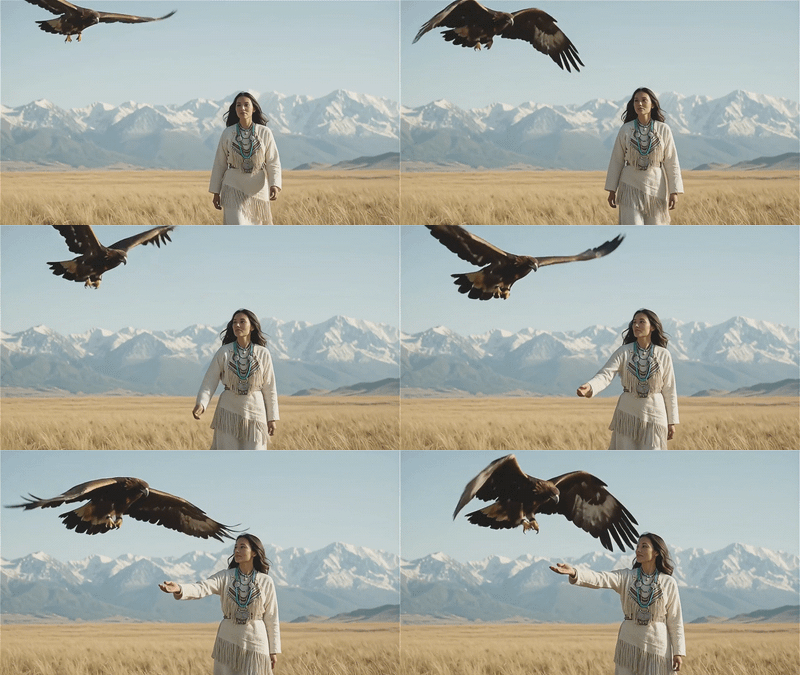
Generate video with synchronized stereo audio from a text prompt using MiniMax H3, the open-source multimodal model by MiniMax. Write what you want to see and hear, then hit run.
Audio Refiner
Minimax H3
Video
59

Nodes & Models
VAELoader
minimax_h3_audio_vae_fp32.safetensors
minimax_h3_video_vae_fp16.safetensors
UNETLoader
minimax_h3_fl2va_pruned_int8_convrot.safetensors
CLIPLoader
qwen3vl_32b_minimax_h3_nvfp4_awq.safetensors
RandomNoise
KSamplerSelect
MarkdownNote
PrimitiveInt
ResolutionSelector
PrimitiveFloat
LoraLoaderModelOnly
minimaxh3/minimax_h3_fl2v_turbo_4step_v1.0_768p_comfyui_bf16.safetensors
minimax_h3_fl2v_turbo_4step_v1.0_768p_comfyui_bf16-minimax-h3-t2v-turbo-4-tGvpQDIx.safetensors
ComfyMathExpression
ModelAttentionBackend
MiniMaxH3ImageToVideo
MiniMaxH3SigmaShift
BasicGuider
BasicScheduler
SamplerCustomAdvanced
VAEDecode
VAEDecodeAudio
CreateVideo
SaveVideo
ABOUT THE WORKFLOW
Generate Video with Audio
Write a video prompt and an audio prompt. MiniMax H3 generates a video clip with synchronized stereo audio in a single pass. No separate audio step, no post-sync. What you describe is what you get back as a playable video with sound.
Model
MiniMax H3 by MiniMax. A 33-billion parameter open-source multimodal model that generates video and stereo audio together, with strong motion, camera control, and text rendering.
Turbo LoRA. Cuts generation down to 4 steps for faster output.
HOW IT WORKS
Step 1. Write your video prompt
Describe the scene, the action, the camera movement, and the look. Be specific about what moves and how the shot is framed.
Works great with: cinematic scenes · product shots · character animation · environments
Step 2. Write your audio prompt
Describe the sounds you want to hear. Name specific effects, ambient tones, music, or dialogue. The audio generates alongside the video, not after it.
Works great with: ambient soundscapes · footsteps · dialogue · music cues
Step 3. Set resolution and duration (optional)
Pick an aspect ratio and megapixel count for the output size. Set how many seconds the clip should run. Defaults are already set for a good starting point.
Step 4. Hit run and download
The model generates the video and audio together. Preview the result in the workflow, then download as a video file with embedded audio.
Ready for: Premiere Pro · DaVinci Resolve · After Effects · any NLE
First time? Leave every setting as-is. The defaults (960x544 · 5 seconds · 4 steps · 24fps) are the right starting point for almost everyone.
RECOMMENDED SETTINGS
Quick-start guide. Find the goal that matches yours and copy the settings.
Standard generation (most people) — 0.5 megapixels · 16:9 · 5 seconds · 4 steps. The right starting point for almost everyone.
Quick test or concept check — 0.2 megapixels · 5 seconds. Fastest way to see if a prompt works before committing to higher resolution.
Sharper output for final delivery — 0.6 megapixels · 5 seconds. More detail per frame, longer generation time.
Longer clips — Increase duration beyond 5 seconds. The model supports up to 15 seconds per generation.
Different aspect ratio — Switch from 16:9 to 9:16 for vertical video, 1:1 for social, or 4:3 for a classic frame.
Audio sounds off — Keep the audio prompt short and specific. Name the sounds you want rather than describing the mood. "Footsteps on gravel, distant traffic, wind" lands better than "tense atmosphere."
Motion is too subtle — Describe the action in the video prompt with verbs. "Camera pushes forward" and "wind lifts her hair" give the model something to animate. Describing a still scene returns a still-looking result.
Prompt: This workflow uses two prompts: a video prompt and an audio prompt, separated by labels. Describe the scene and camera in the video section. List the specific sounds in the audio section. "Soft rain on a window, distant thunder, the hum of a refrigerator" is clearer than "rainy day sounds."
LEARN
📹 Videos
ComfyUI 101 Free Course ft. Sebastian Kamph
Floyo 101 for Team Collaboration
✨ Quick links
USE CASES
🎬 Filmmakers & Previz
Block out a scene with synced audio before committing to a shoot. Get a playable clip with dialogue, ambient sound, and camera movement from a text description.
🎮 Game Developers
Generate cutscene drafts or in-engine cinematics with matching sound design. Test how a scene reads with audio before building it in the engine.
📱 Social & Short-Form Content
Produce vertical or widescreen video clips with built-in sound for social posts, ads, or story content. No separate audio editing step.
🎵 Music & Audio Visualizers
Pair generated visuals with specific soundscapes, ambient tracks, or rhythmic audio. Useful for music videos, mood boards, and audiovisual experiments.
🛍️ Product & Brand
Create product reveal clips or brand moments with matching audio design. Name the sound of the unboxing, the environment, or the brand sting in the audio prompt.
WHAT WORKS BEST / WHAT TO AVOID
✅ Works great
Cinematic scenes with clear camera direction
Specific, named sounds in the audio prompt
Single continuous actions (a walk, a pan, a reveal)
Environments with natural ambient audio
⚠️ May produce softer results
Vague prompts without camera or motion direction
Audio prompts that describe mood instead of listing sounds
Rapid scene changes within a single clip
Complex multi-character dialogue scenes
FAQ
What is MiniMax H3?
MiniMax H3 is a 33-billion parameter open-source multimodal model by MiniMax. It generates video and stereo audio together in a single pass, rather than treating them as separate tasks. The model supports text-to-video, image-to-video, and reference-based generation at resolutions up to 2K and durations up to 15 seconds.
How does MiniMax H3 generate audio with video?
Unlike most video models that produce silent output, MiniMax H3 processes video and audio as part of the same generation pipeline. You write a video prompt describing the scene and an audio prompt describing the sounds. The model produces both at once, with the audio synchronized to the action on screen. This workflow also includes an audio refining step that cleans up the generated audio for a smoother result.
What resolution and length does MiniMax H3 support?
The model generates at up to 2K resolution (1440 pixels on the short edge) and clips from 5 to 15 seconds at 24fps. This workflow defaults to 960x544 (0.5 megapixels) and 5 seconds, which balances quality and generation speed. Increase the megapixel setting for sharper output or extend the duration for longer clips.
Is MiniMax H3 open source?
Yes. MiniMax released H3 as an open-weight model. You only pay for generation time when running it. All models come pre-loaded, so there is nothing to download or configure.
Can I use MiniMax H3 output commercially?
Yes. MiniMax H3 is released under an open license. Outputs generated through this workflow carry full commercial rights for use in films, ads, games, social content, and client work.
What is the Turbo LoRA and why is it included?
The Turbo LoRA reduces the number of generation steps from the standard count down to 4, which speeds up each run. It is pre-applied in this workflow. The trade-off is minimal at 4 steps, and the audio refiner compensates for any softness in the sound output.
How to run MiniMax H3 online?
You can run MiniMax H3 online through Floyo. No installation, no setup, no API key to wire up. Open the workflow in your browser, write your video and audio prompts, and hit run. Free to try.
WHY FLOYO?
Floyo is the only platform with team collaboration for ComfyUI in the browser. You run workflows with no install. You share run history, assets, and models across your team. You pay only when you generate. Floyo supports open-source and closed-source models.
A director runs a generation and likes the result. An editor opens that exact run from shared history and keeps going. No file handoffs. No version confusion.
For studios and enterprise teams, Floyo adds private workspaces, pooled resources, and a team usage dashboard. Other ComfyUI cloud tools run for one person at a time. Floyo runs for the whole team, with transparent per-generation costs.
Ready to try it?
Write a scene, describe the sounds, and run it. The settings are already set.
Questions? Watch the free course or check the FAQ above.
Read more