Flux ControlNet 2.0 - All-in-one
Latest and greatest Flux ControlNet workflow.
control net
controlnet
flux control net
flux controlnet
10
4.5k


Nodes & Models
Note
Label (rgthree)
UNETLoader
flux1-dev-fp8.safetensors
GetNode
Fast Groups Bypasser (rgthree)
VAELoader
ae.safetensors
DualCLIPLoader
t5xxl_fp16.safetensors
clip_l.safetensors
LoadImage
UpscaleModelLoader
4xNomos8kDAT.pth
ControlNetLoader
FLUX.1/flux_shakker_labs_union_pro-2.0.safetensors
SetUnionControlNetType
SetNode
CLIPTextEncode
PreviewImage
FluxGuidance
ConditioningZeroOut
EmptyLatentImage
ControlNetApplyAdvanced
KSampler
VAEDecode
SaveImage
Scribble_XDoG_Preprocessor
DepthAnythingPreprocessor
depth_anything_vitl14.pth
CannyEdgePreprocessor
HEDPreprocessor
AnimeLineArtPreprocessor
OpenposePreprocessor
Scribble_XDoG_Preprocessor
DepthAnythingPreprocessor
depth_anything_vitl14.pth
CannyEdgePreprocessor
HEDPreprocessor
AnimeLineArtPreprocessor
OpenposePreprocessor
ImageResize+
ImageResize+
UltimateSDUpscale
UltimateSDUpscale
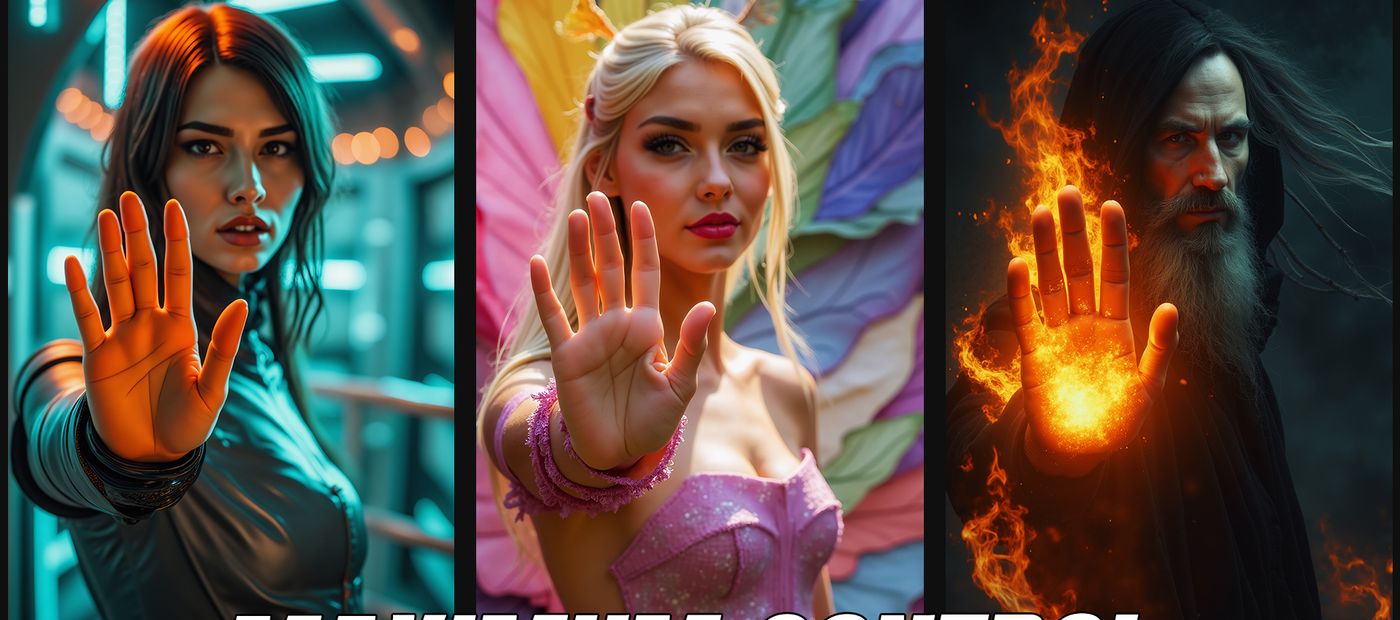
All six Flux ControlNet modes in one workflow, powered by the Union Pro 2.0 model from Shakker Labs.
Upload an image. The workflow reads its aspect ratio and resizes automatically. Enable the ControlNet modes you want, adjust their strength, write a prompt, and generate. The output runs through a 2x upscale pass with 4xNomos8kDAT for a sharper final result. Cold start takes about 2 minutes. Hot start runs in 15 seconds.
No mode-switching between separate workflows. Depth, canny, lineart, softedge, openpose, and scribble are all in the same canvas.
How do you use Flux ControlNet 2.0 All-in-One?
Upload your image, enable the ControlNet modes you want, write a prompt, and press Queue. The workflow auto-resizes to your image's aspect ratio. Each mode runs from the same Union Pro 2.0 model, so you can stack multiple ControlNets at once without loading separate checkpoints.
The four steps are labeled in the workflow: load image, write prompt, select ControlNets, press Queue.
Input image Upload the image you want to use as a structural reference. The workflow reads the aspect ratio and automatically resizes to fit Flux's optimal resolution table (1:1, 3:2, 4:3, 16:9, 21:9 at 1MP or 2MP). You don't need to pre-crop or resize before uploading.
ControlNet modes Six modes are available. Enable or disable each with the bypass toggle. They can run individually or stacked in any combination.
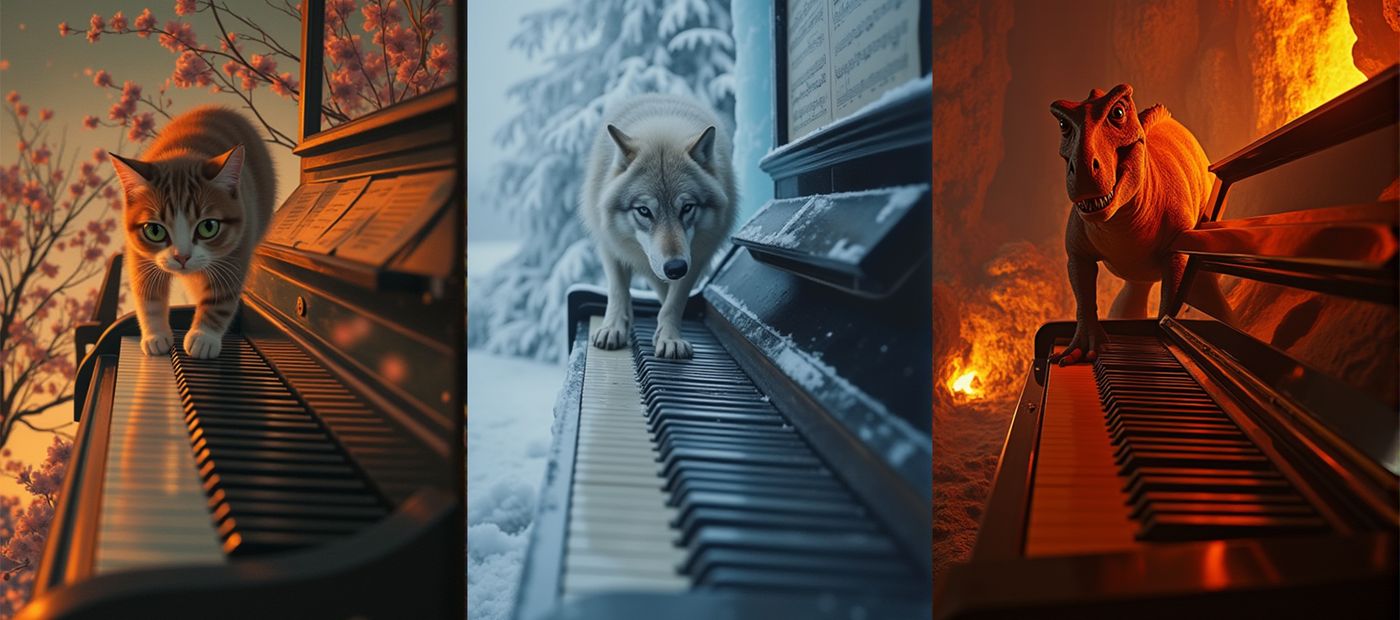
Depth reads the spatial depth map from your image. Objects stay at the correct distances from the camera. Best for preserving scene composition and 3D structure when changing style or subject.
Canny extracts hard edges and outlines. Tightest structural control of the six modes. Use it when you need the generated output to match the exact silhouette and object boundaries of the input.
Lineart extracts clean line art from the image. Useful for converting sketches, illustrations, or anime frames into generated outputs while keeping the drawing structure.
Softedge (HED) extracts softer, less precise edges than canny. More flexibility in the output while still guiding the overall structure. Good for organic subjects like portraits where hard edges would produce stiff results.
OpenPose extracts body pose from the input. Generates a new subject in the same pose without being constrained to the original subject's appearance or environment. The pose skeleton is the only constraint.
Scribble reads rough sketches or loose marks as structural guides. Useful when your input is a hand-drawn sketch rather than a photograph. The model fills in the generation from your scribble lines.
ControlNet strength Each mode has its own strength value in the Apply ControlNet node. Default values vary by mode (0.6 to 0.9). Lower strength gives the generation more freedom while still nudging toward the structure. Higher strength enforces the input more rigidly.
The community baseline: 0.6 to 0.7 with an end step around 0.6 to 0.7 is a reliable starting point across modes. The Union Pro 2.0 model handles most cases cleanly in that range. Depth with the InstantX union pro model tends to produce the most consistent results at stock settings.
Guidance (default: 3.5) Flux guidance scale. 3.5 is the default across the workflow. Lower it for looser, more creative interpretations of the prompt. Raise it for tighter prompt adherence.
Steps (default: 20) 20 steps for the main generation pass. This is the right balance for quality and speed with Flux 1 Dev. The upscale pass runs at separate step count.
Optional LoRA A LoRA loader is included but empty by default. Connect any Flux-compatible LoRA to add a style, character, or technique on top of the ControlNet conditioning.
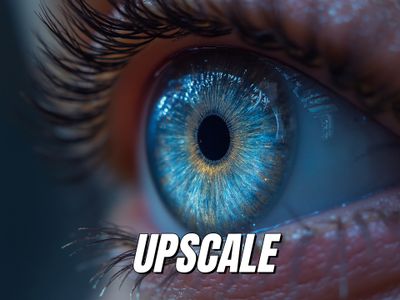
2x Upscale (UltimateSDUpscale + 4xNomos8kDAT) After the main generation, the workflow runs a 2x upscale with the 4xNomos8kDAT model. The upscale pass uses a denoise of 0.15, so it sharpens and adds detail without rebuilding the image. Output is saved separately as 2xUpscaled_ControlNet.
What is Flux ControlNet 2.0 All-in-One good for?
Flux ControlNet 2.0 All-in-One is for any generation task where you need structural control over the output: matching a pose, replicating a composition, converting a sketch to a finished image, or changing style while keeping scene layout. The all-in-one setup means you don't switch workflows as your needs change between modes.
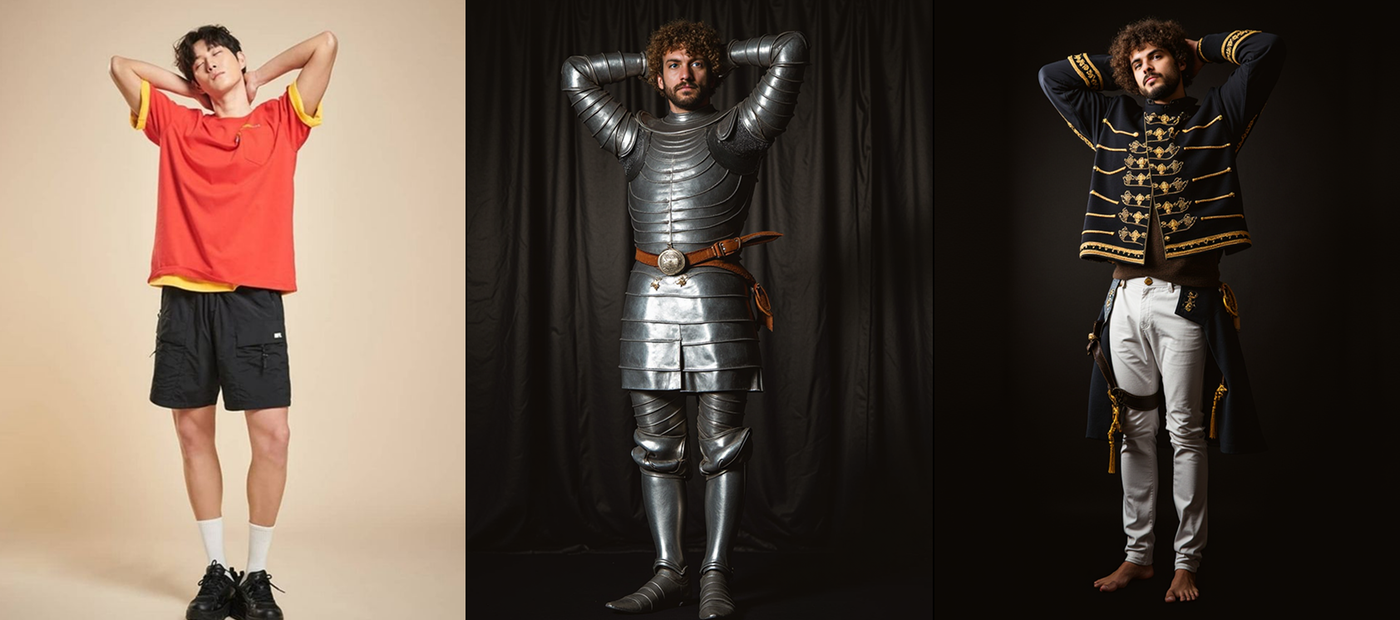
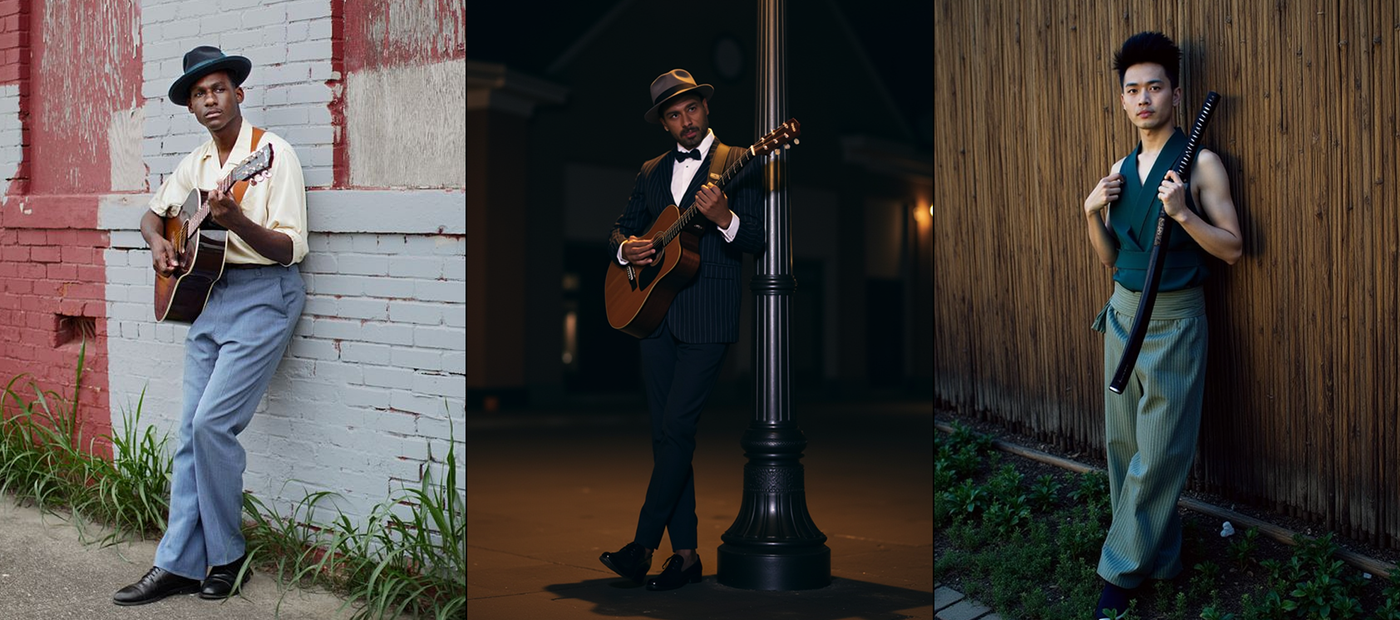
Pose-controlled character generation. Upload a reference pose, enable OpenPose, and generate a character in a completely different style, outfit, or environment while keeping the exact body position. No LoRA training required. The pose skeleton is the only thing that carries over.
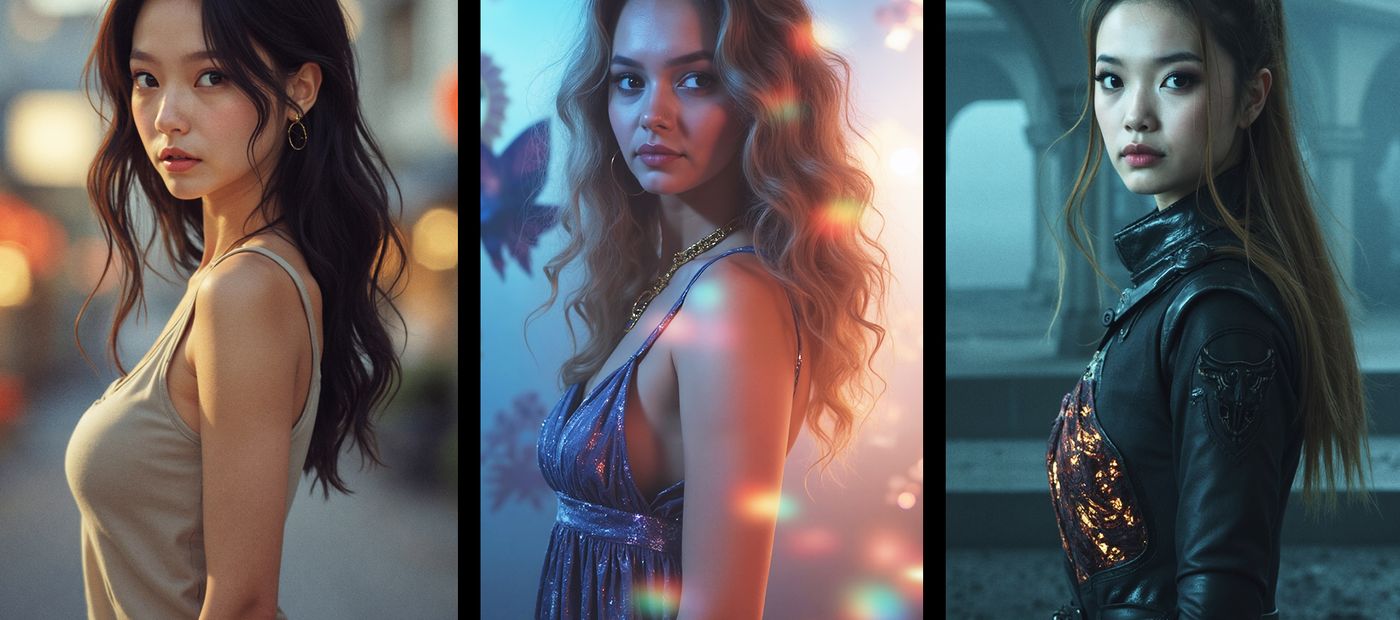
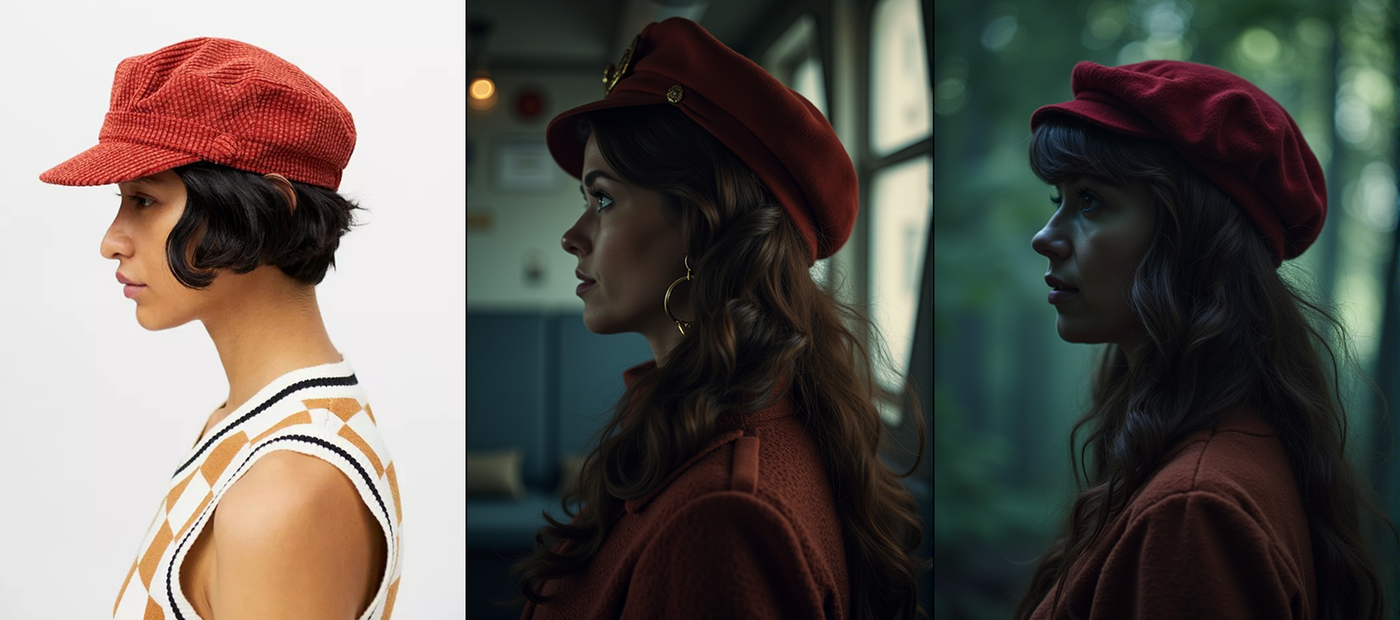
Style transfer with structural anchoring. Enable depth or canny on a scene photo and write a prompt for a different visual style. The composition, object positions, and depth relationships stay intact while the aesthetic changes. Cinematic render from a photo reference, illustration from a real environment.
Sketch to image. Upload a hand-drawn sketch or rough concept, enable scribble or lineart mode, and generate a finished image from it. The model treats your marks as a structural guide rather than a literal reference.
Multi-mode stacking. Depth and canny together for tight structural control with spatial grounding. Softedge and openpose for character shots where you want natural edge blending but precise pose control. Stack any combination and adjust per-mode strength to weight them.
Honest notes: ControlNets for Flux are less mature than their SD 1.5 or SDXL counterparts. The Union Pro 2.0 model handles all six modes but depth preconditioning gives the most consistently strong results. OpenPose and canny are reliable. Scribble and lineart can be more variable depending on input quality. Strength and end step tuning matters more with Flux ControlNets than it did with older models: go too high and you'll see stiffness; too low and the control fades. Start in the 0.6 to 0.7 range and adjust.
How does the Union Pro 2.0 model compare to separate ControlNet models for Flux?
Union Pro 2.0 handles all six modes from a single checkpoint, which means faster setup and no checkpoint switching between tasks. Dedicated individual models can produce sharper results for specific modes, particularly depth, but require separate workflows for each. For a multi-mode workflow, Union Pro 2.0 is the practical choice.
The XLabs v3 and InstantX individual models can outperform Union Pro on their specific modes, particularly for depth. If depth is your primary use case and quality is the priority over workflow flexibility, testing those models is worth the effort.
For most production use where you switch between modes within a session, Union Pro 2.0 handles the range without the friction of loading separate models. The Shakker Labs implementation is consistently cited by the community as the most reliable union model for Flux.
Workflow by Sebastian Kamph (patreon.com/sebastiankamph)
FAQ
What ControlNet modes does Flux ControlNet 2.0 All-in-One support?
Six modes: depth, canny, lineart, softedge, openpose, and scribble. All run from the same Union Pro 2.0 checkpoint from Shakker Labs. Enable any mode individually or stack multiple modes at once using the bypass toggles in the workflow.
What ControlNet strength should I use for Flux Union Pro 2.0?
Start at 0.6 to 0.7 with an end step around 0.6 to 0.7. This range gives the generation enough freedom while keeping structural guidance active. Depth and openpose tend to work cleanly at default values. Scribble and lineart may need adjustment based on input quality.
Can I use multiple ControlNet modes at the same time?
Yes. All six modes can run simultaneously or in any combination. Enable the modes you want with the bypass toggle and set each mode's strength in its Apply ControlNet node. Depth and canny together give tight structural and spatial control. Softedge and openpose work well for character shots.
Does the workflow automatically handle image resizing?
Yes. Upload your image at any aspect ratio and the workflow resizes it to fit Flux's optimal resolution table (1:1, 3:2, 4:3, 16:9, 21:9). No pre-cropping or manual resizing needed.
What does the 2x upscale do in this workflow?
After the main generation, the workflow runs a 2x upscale pass using UltimateSDUpscale with the 4xNomos8kDAT model at a denoise of 0.15. It sharpens and adds fine detail without rebuilding the image. The upscaled output is saved separately.
How do I run Flux ControlNet 2.0 All-in-One online?
You can run this workflow online through Floyo. No installation, no setup. Open the workflow in your browser, upload your image, and hit run. Free to try.
Read more
_1774874350635.png?width=400&height=300&quality=80&resize=cover)